
Monthly Roll-Forward
Overview
For a model with a monthly Period Resolution, follow these steps after closing each month’s books. For quarterly or annual models, perform the same workflow after each period and advance Start Period to the next quarter or year.
Step 1: Update Latest Historical Period
First go to the Historical Data tab, update the latest historical period, and save the change:

Step 2: Refresh Accounting Data
On the Financial Statements section of the Historical Data tab, you'll see that the system will display the date that your data has been refreshed through in red text:
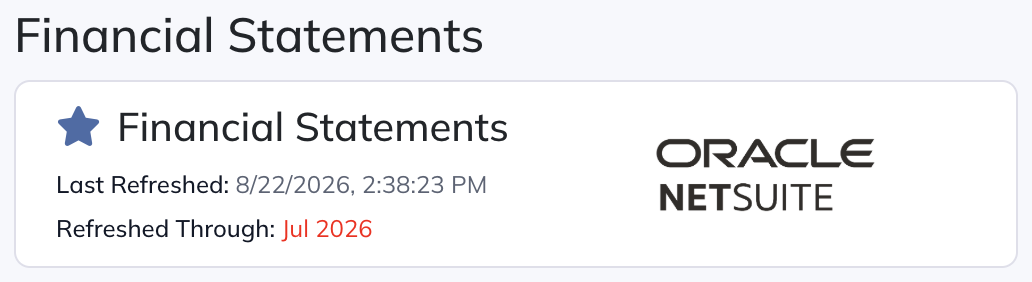
This means that you need to update your accounting data connection to pull data through the date that you just defined when updating the latest historical period.
If you are using QuickBooks, Xero, NetSuite, or Sage Intacct, you'll see a Refresh Data button after selecting the Financial Statements Data Connection:
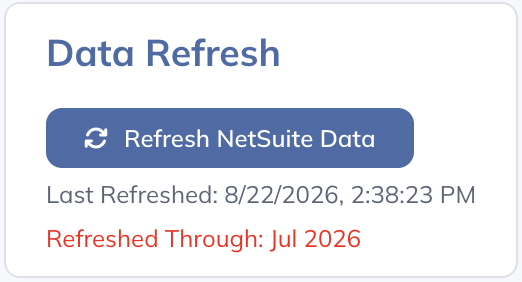
Clicking the refresh button will start the process of importing data from your accounting system into Modeloptic. The refresh process typically takes from a few seconds to several minutes, depending on how complex your financials are and how many periods you've chosen to import.
You will see an alert when the process has finished:

If you're uploading your historical financial data from Excel instead, use the upload process outlined in the Excel Upload section of this guide. Make sure to double check that the import options still accurately reference the columns, start row, sheet name, and year total spacing within the Excel file you're uploading.
If you're loading your historical financial data from Google Sheets, use the upload process outlined in the Google Sheets section of this guide.
Step 3: Update Schema Mappings
Now that the new accounting detail has been refreshed from your accounting system, make sure everything is mapped properly so the updated financials tie.
Scroll down to the Schema Mapping section and review the tabs for each financial statement. Ensure that each account from your accounting system has a corresponding Modeloptic Schema Target mapped via the dropdowns. In particular, if there are any new accounts since you last refreshed, make sure those get mapped.
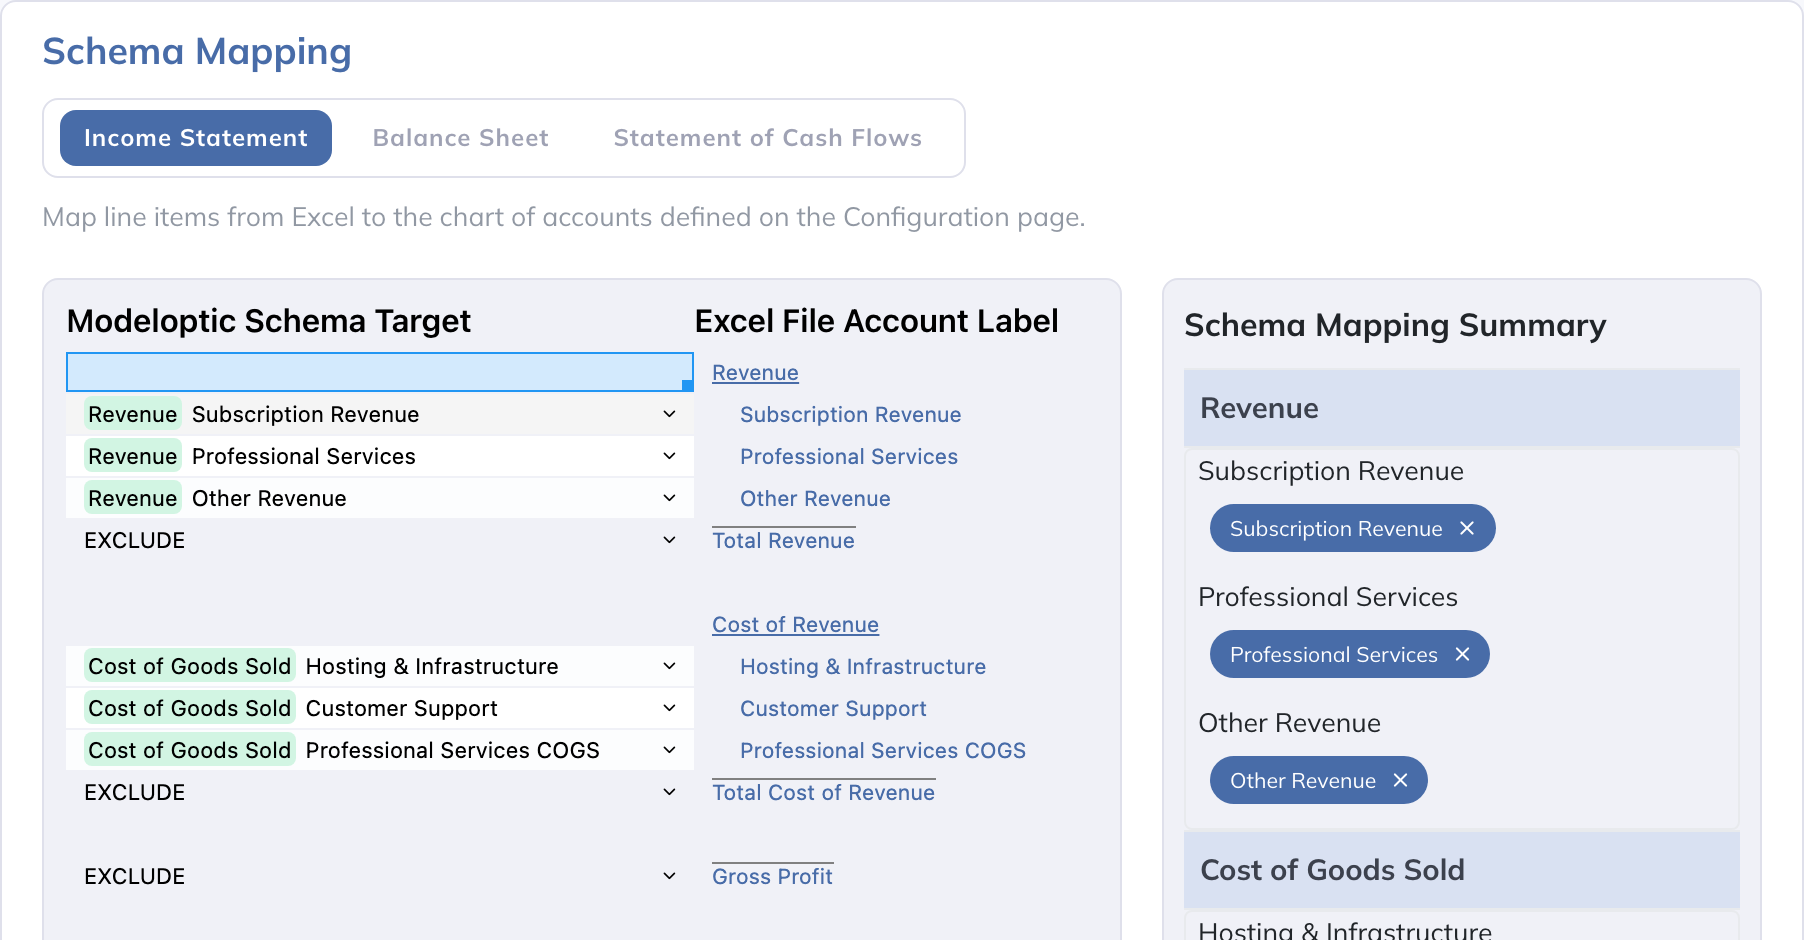
When you save the mapping, Modeloptic checks that your historical statements tie. If any check fails, a validation modal lists what went wrong - most commonly an unmapped or incorrectly mapped account. See Validation Checks for the specific checks that run.
When all checks pass, you'll see a confirmation:
Step 4: Update Other Data Connections
Next, update any other relevant Data Connections. Navigate back to the opening screen of the Historical Data tab and select the Data Connection that you'd like to update. If you're updating an Excel Data Connection, use the upload process outlined for Excel Data Connections in the Additional Data Connections section of this guide. Map any new lines in the Data Mappings menu if necessary, and save the connection.
If you're using a Google Sheets Data Connection, ensure that the data in the connected Google Sheet is updated with the most recent month of actuals, Retrieve the Latest Data from your Google Sheet, update any mappings, and save the connection.
Step 5: Clone Projection Set
Switch to the Projection Sets tab. The last step is to create a clone of your latest Projection Set in order to preserve a historical record.
Note that any Projection Set with a "Start Period" equal or prior to the "Latest Historical Period" will be automatically "Locked." After you've performed the prior steps, this will have happened to your latest Projection Set.
Click the Clone button on the most recent Projection Set to create a copy of it:

Once cloned, mark the new Projection Set as the "Active Selection", rename the Projection Set, and roll forward the "Start Period" to the new first forecast period (the period after "Latest Historical Period"). This will cause the lock icon to turn blue and allow you to interact with it:

Click on the blue lock icon to "unlock" the new Projection Set, which will change the icon to a green "open" lock:

If you'd like to hide old Projection Sets so they no longer appear in the "Select Projection Set" dropdown elsewhere within Modeloptic, check the box under "Archived".
Hit the save button in the top right before leaving this page.
This roll-forward process can be completed in approximately 5-10 minutes. It is drastically more efficient than the manual process in Excel and is far less error-prone than going cell-by-cell updating an entire spreadsheet!