
Reports
Overview
Modeloptic's Reports page gives you the power to create a fully customizable set of reports, enabling you to analyze and communicate your company's performance and future plans both internally and externally. In contrast to the Dashboard page, which has a free-form layout, the Reports page organizes reports into individual pages that are easily exported and shared.
When you navigate to the Reports page, you'll start by seeing a screen that looks something like this:
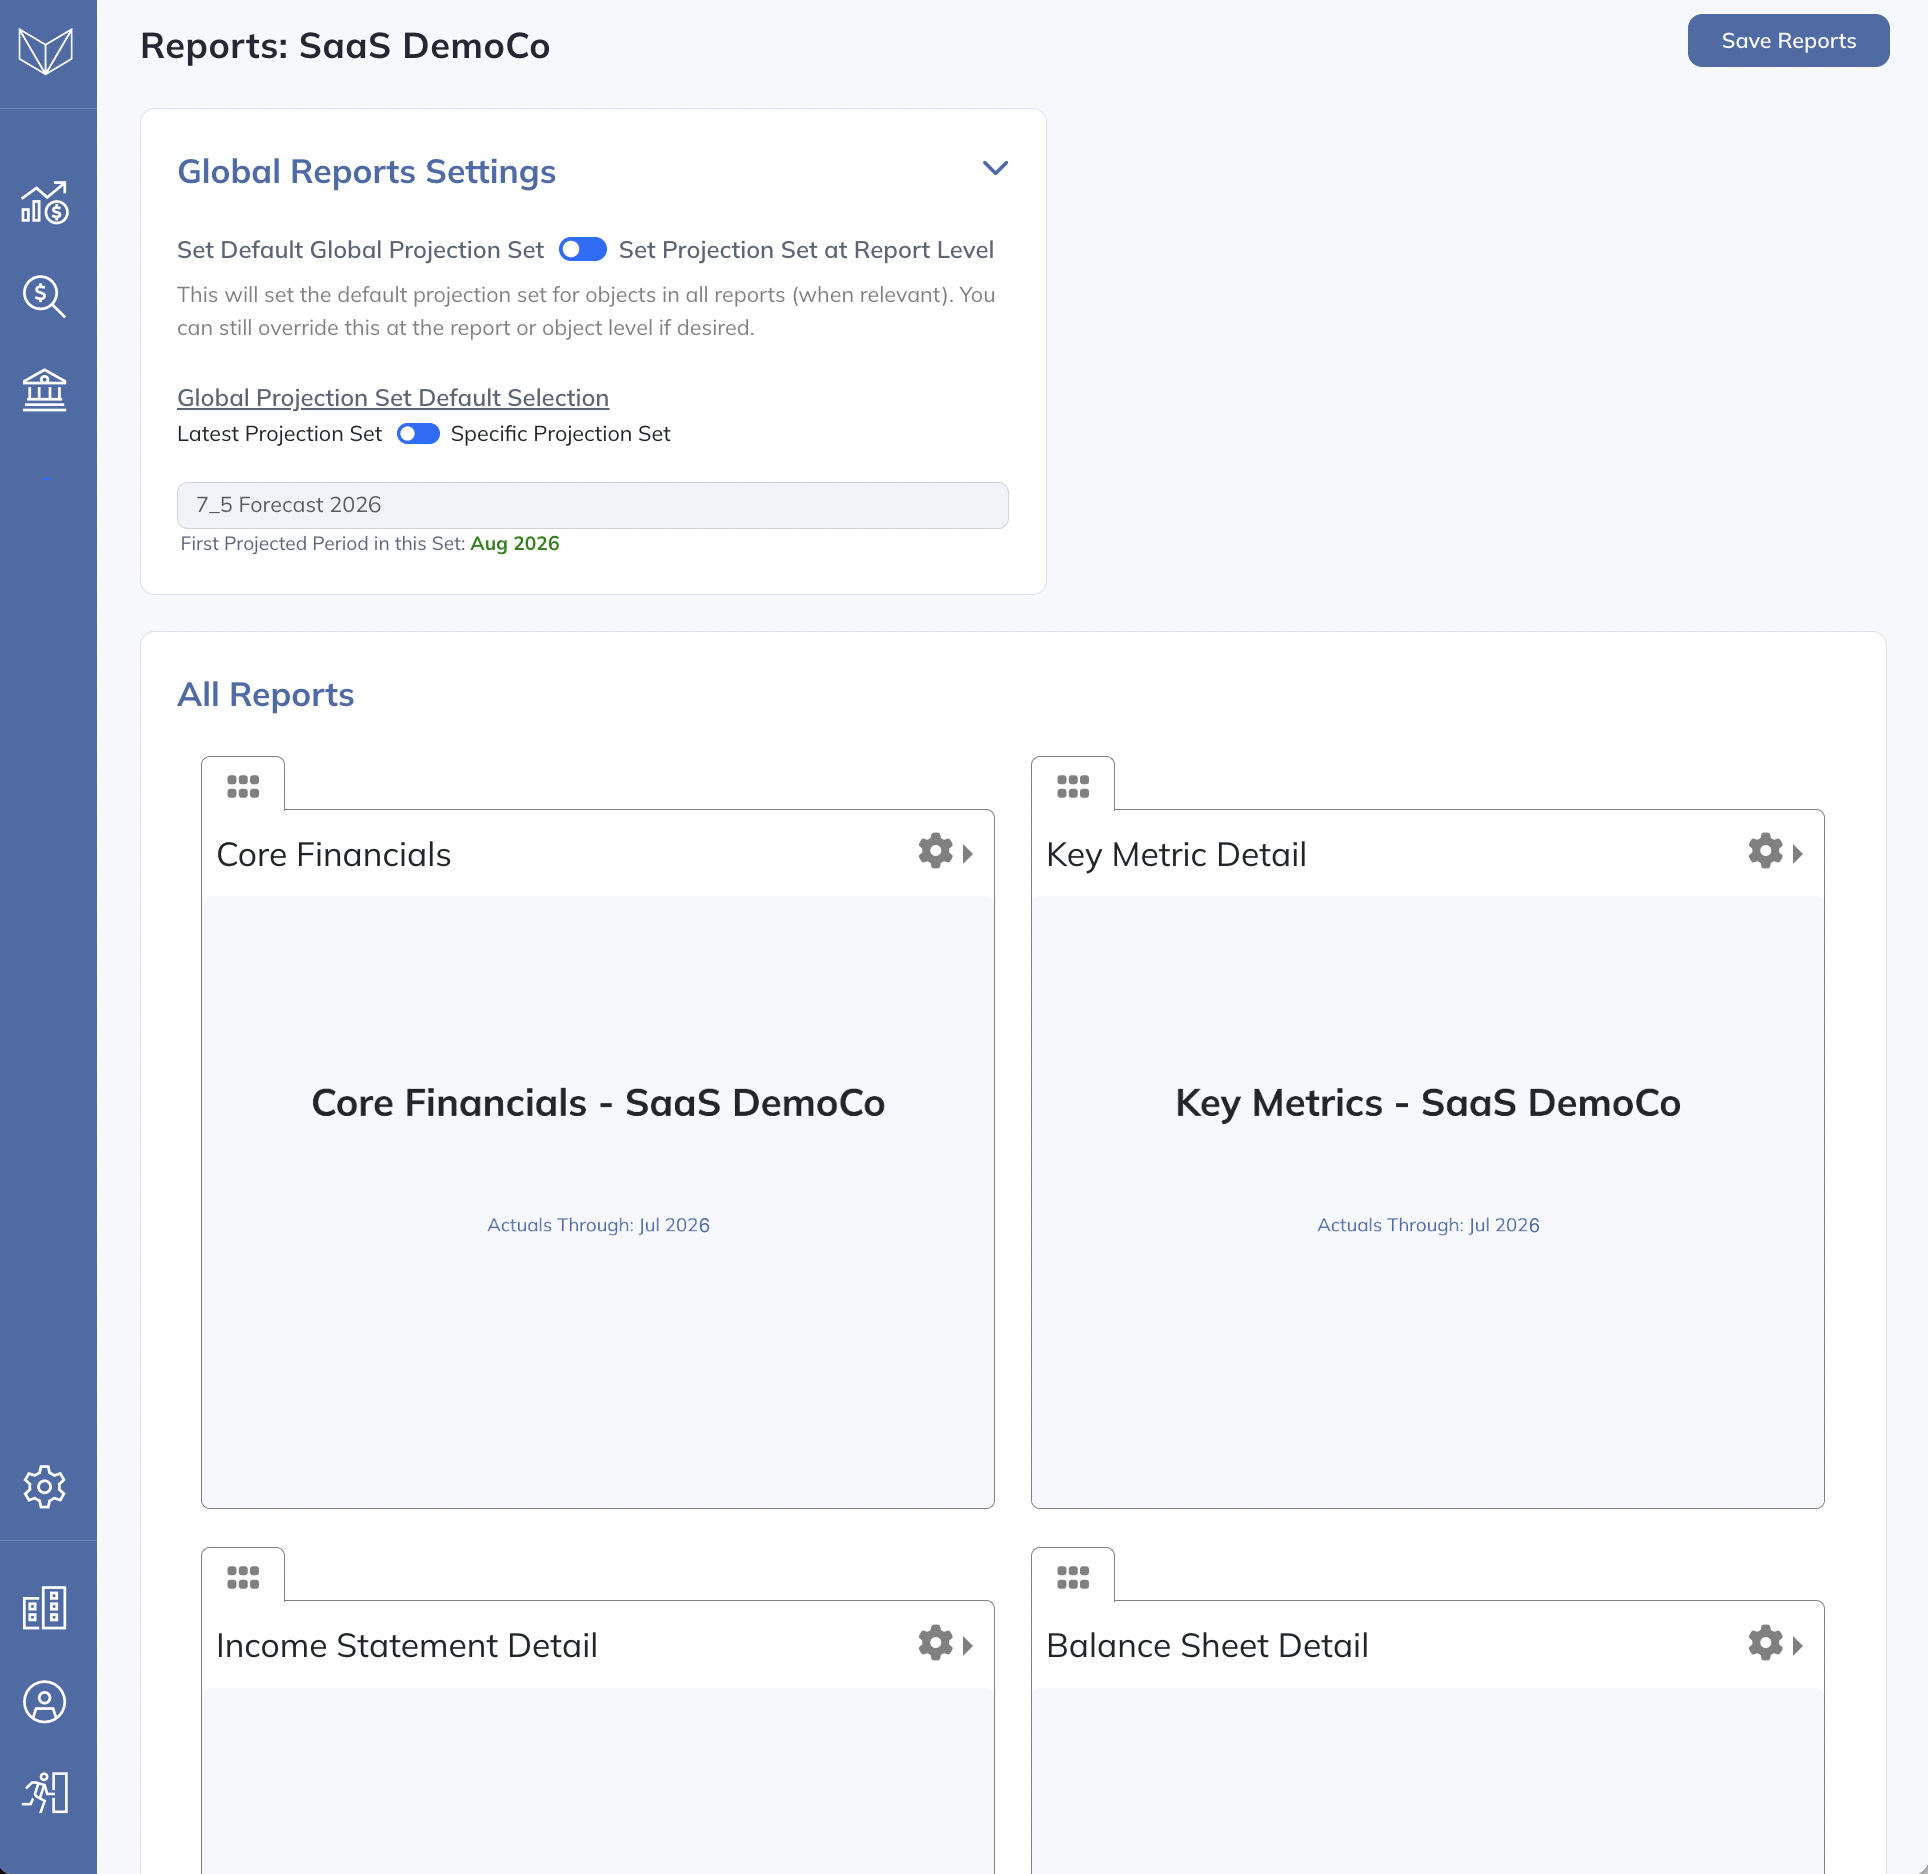
There will be five preset reports already populated here that cover Core Financials, Income Statement Detail, Balance Sheet Detail, Cash Flow Detail, and Variance. This page is where those presets and all other reports that you create will live in the system. You can reorder them by clicking on the icon on the top left corner of each report and dragging accordingly. You can also rename them by clicking into the report title.
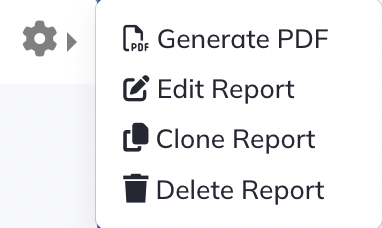
Clicking on the gear icon in the upper right corner of any report will show you several options:
Global & Report-Level Projection Sets
Just like on the Dashboard page, default Projection Set options can be set globally and within each report. See the Dashboard: Global & Report-Level Projection Sets section of this guide for more detail on how this works.
Creating a New Report
To create a new report, navigate to the bottom left corner of the screen and select either "Create New Report from Presets" or "Create New Blank Report":
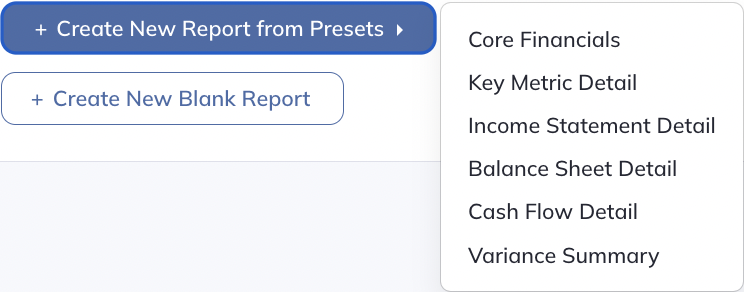
Selecting "Create New Report from Presets" will create a new report with all the preset pages from that report already included. Selecting "Create New Blank Report" will let you start from scratch.
Editing a Report
Clicking into any report will allow you to edit its contents. When you do so, you'll see a page that looks something like this:
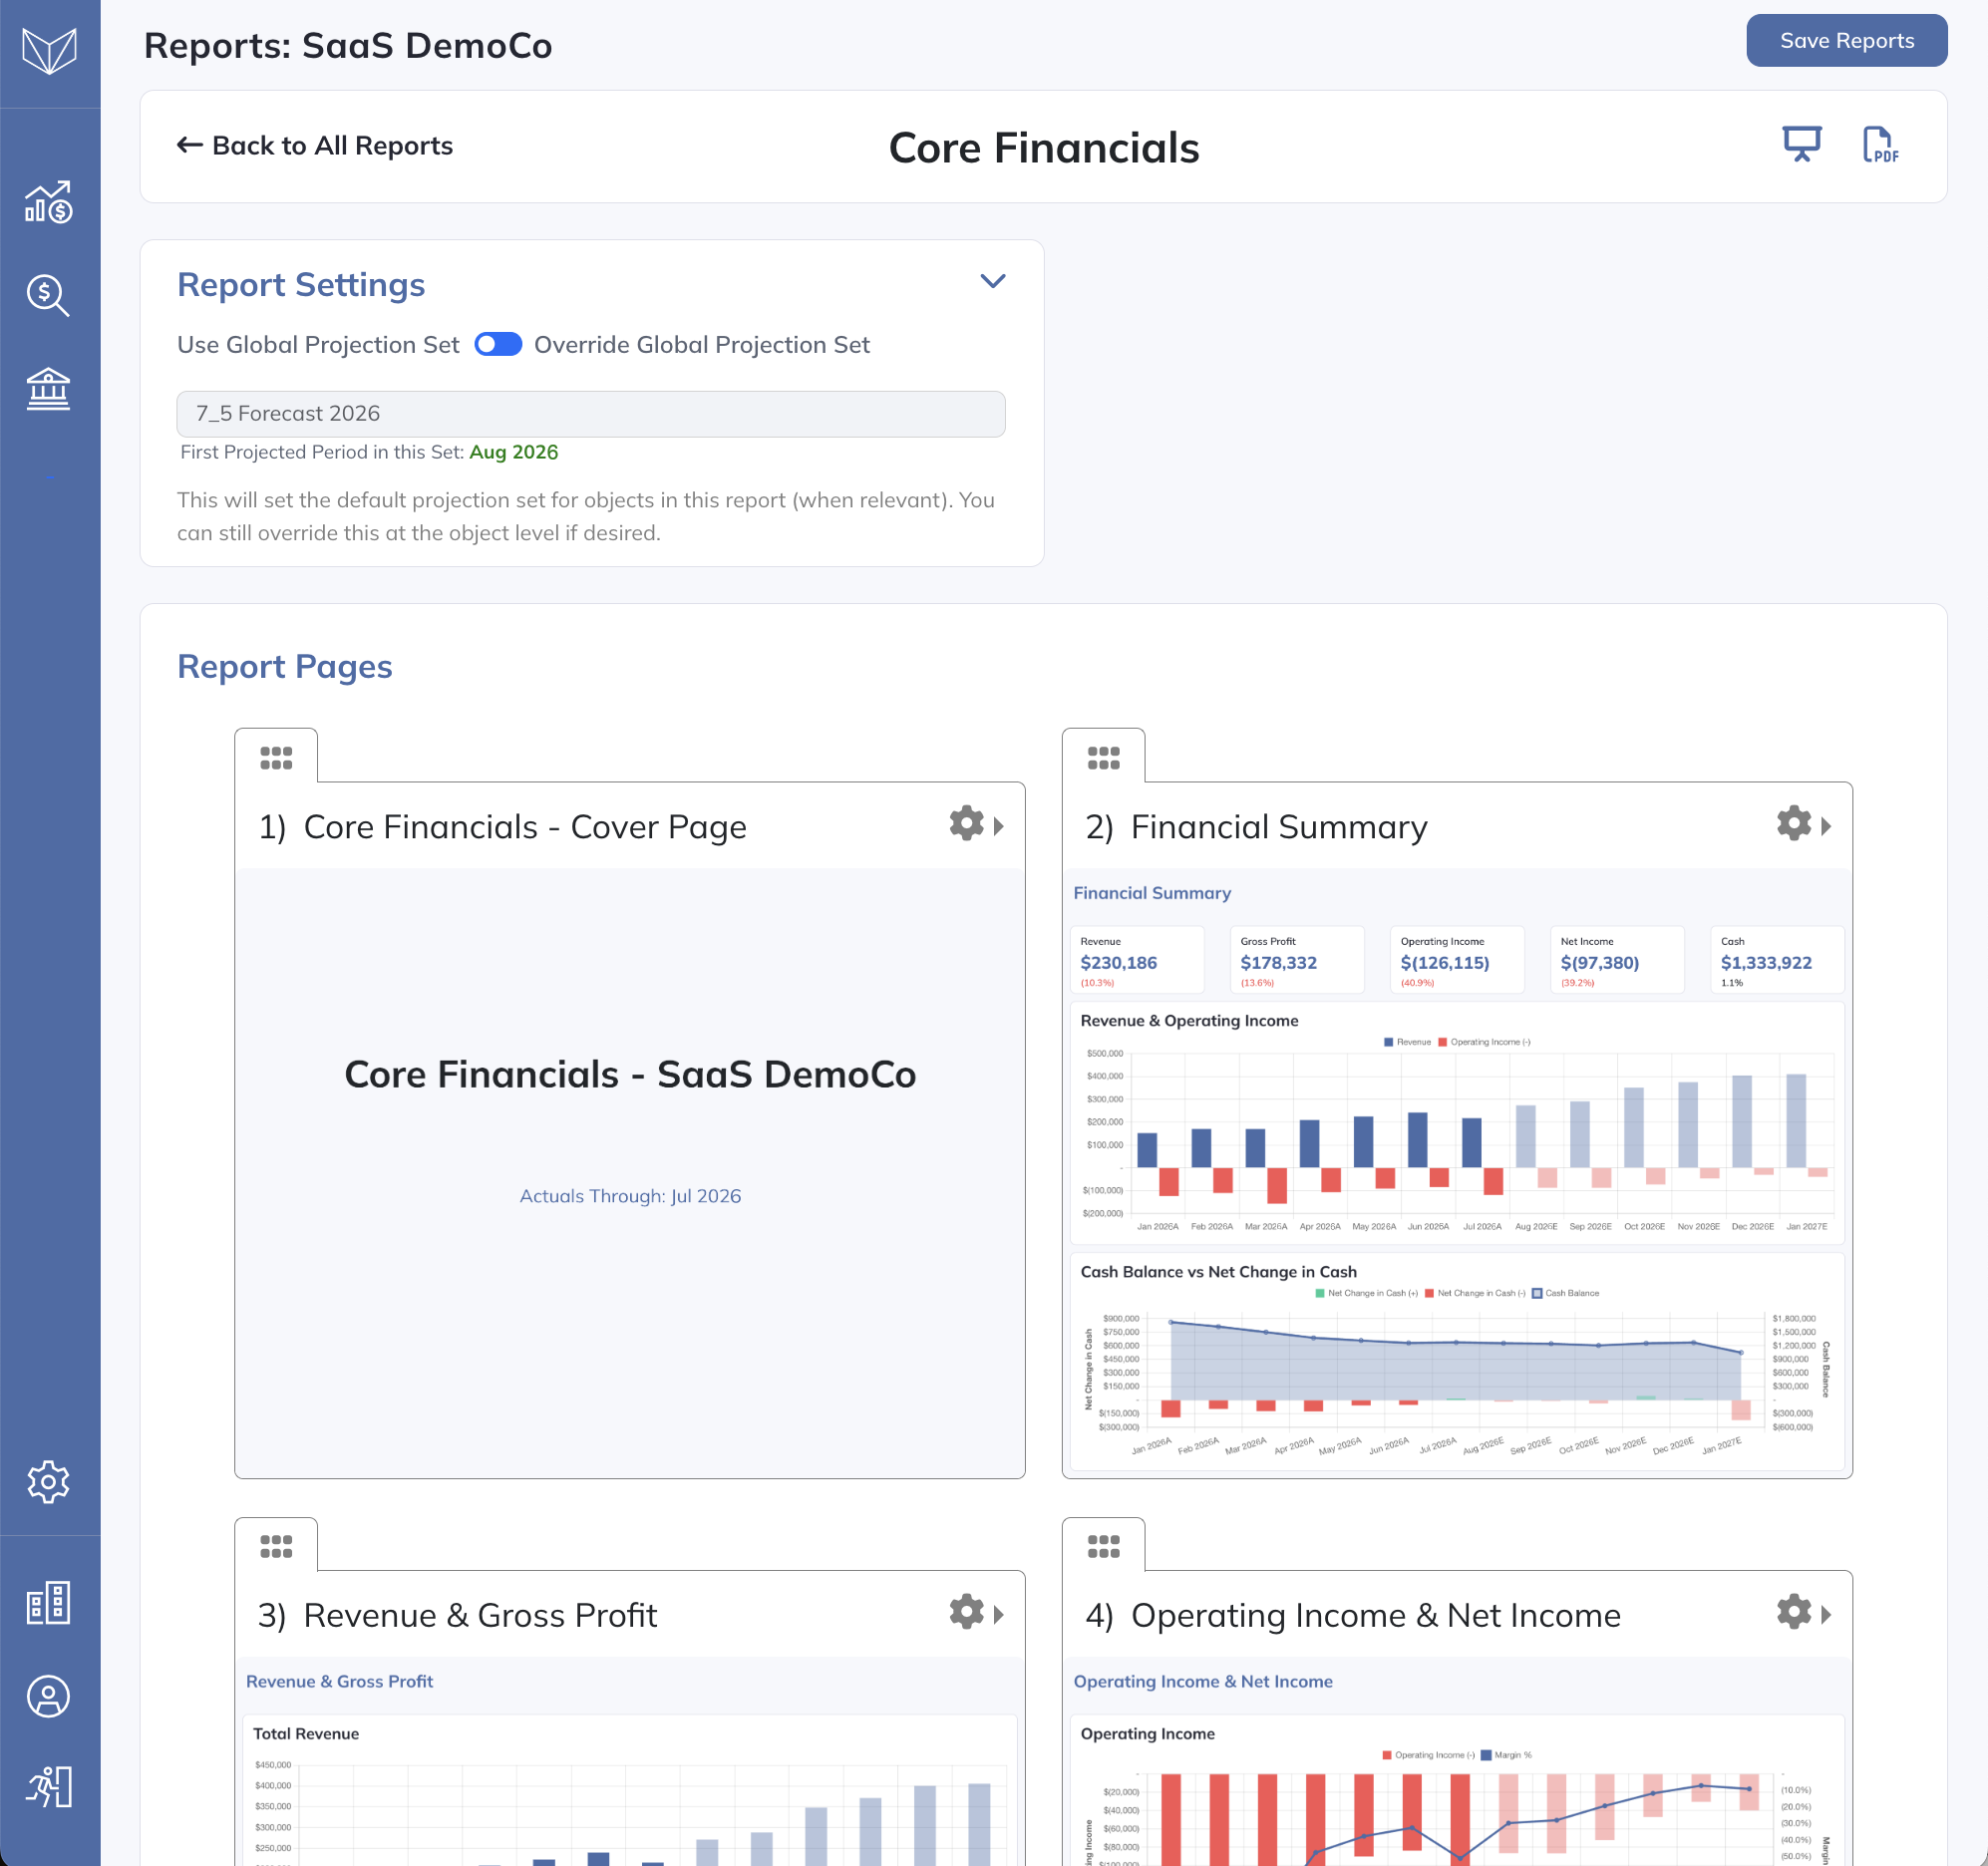
This is where you can set Report Settings for this specific report, add pages to the report, edit those pages, enter presentation mode, and export the report to a PDF.
To add a new page to this report, navigate to the bottom left corner of the screen and select either "Add New Page from Preset" or "Add New Blank Page":
When you select "Add New Page from Preset", you will be presented with a screen that looks like this:
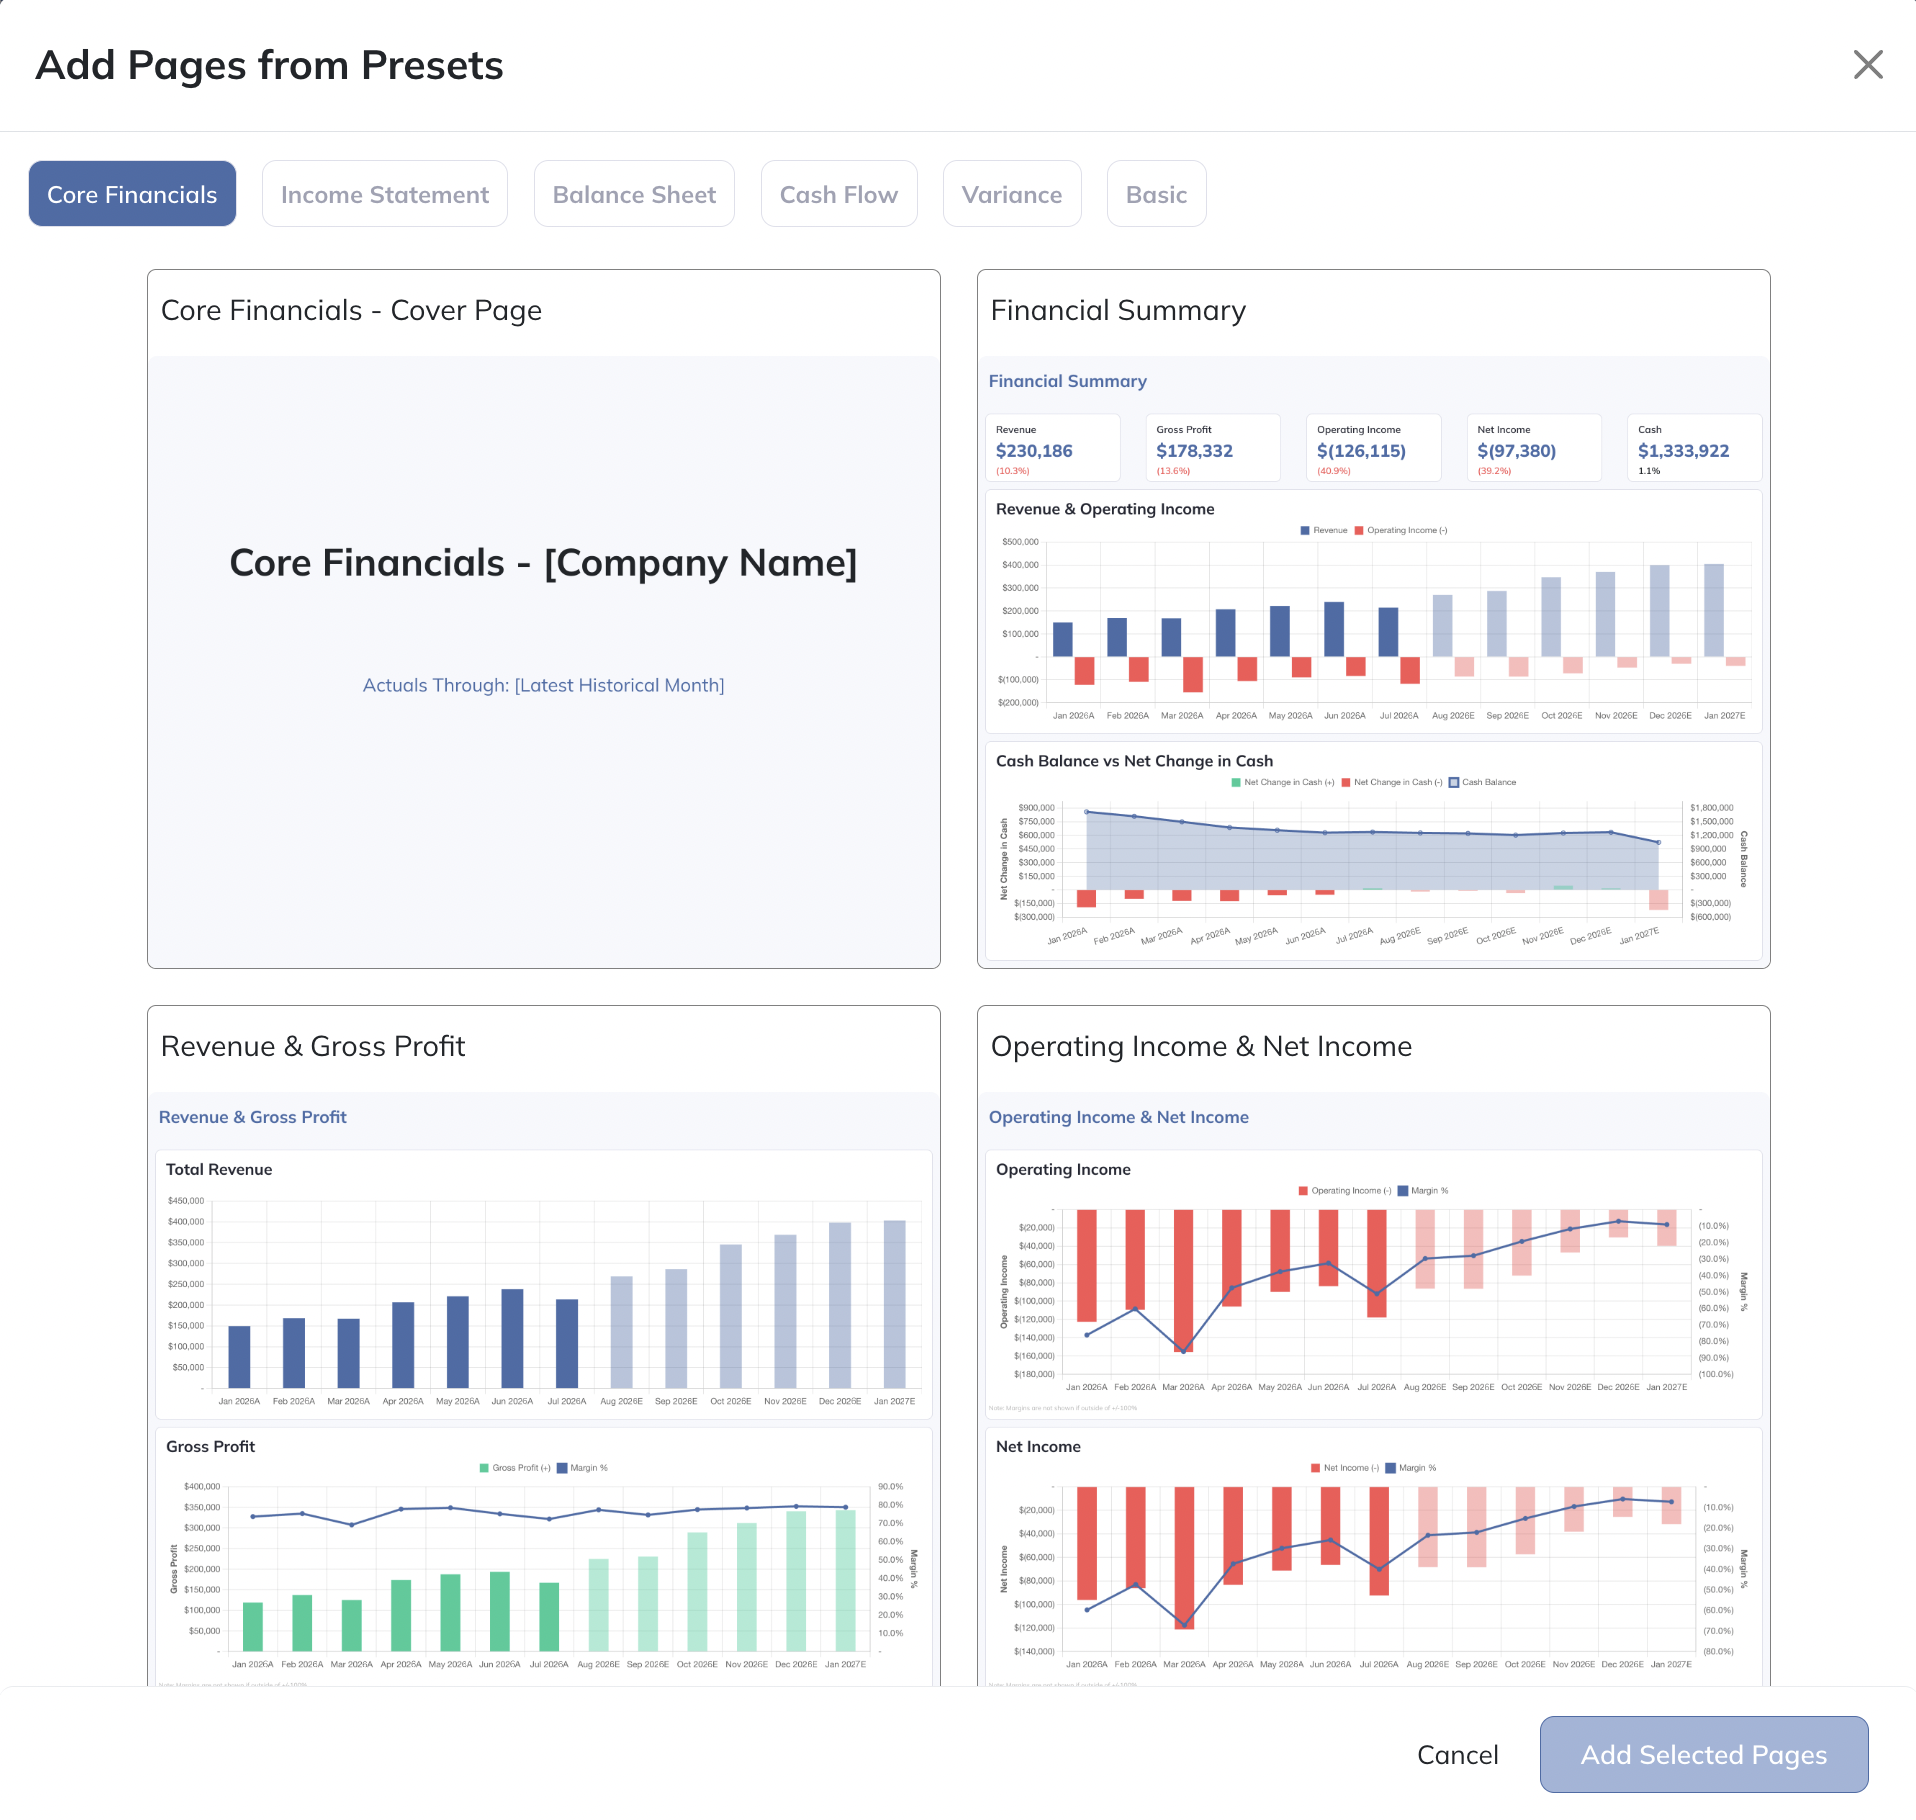
This menu contains a variety of useful pre-constructed pages that you can add to your reports rather than needing to create all of your pages from scratch. This can save you hours of time when constructing or altering your reporting package.
The page presets are organized into several sections. Clicking on any page will select it, and multiple pages can be selected at once. Select whichever pages you'd like to add to the current report, then click the "Add Selected Pages" button to add them.
Like on the main Reports page, pages within a report can be reordered by clicking on the icon on the left side of each page and dragging accordingly. You can also rename a page by clicking into the page title and typing in the new name you'd like to use.
Also like on the main Reports page, clicking on the gear icon in the top right corner of any page will show you several options:
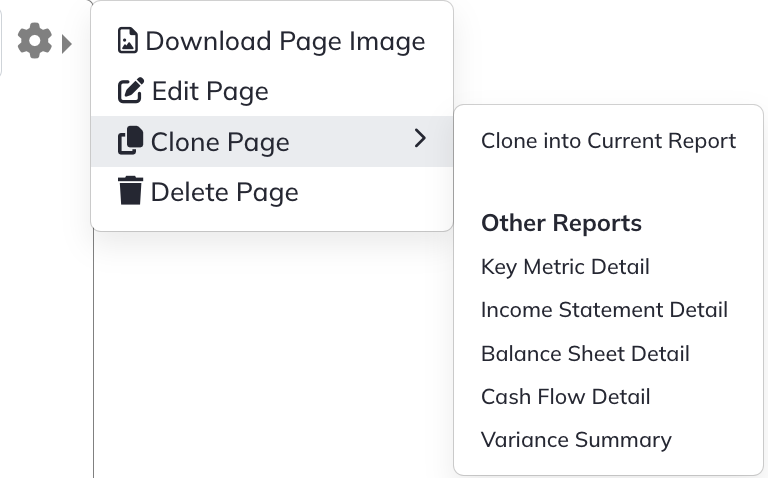
The "Clone Page" option allows you to clone a copy of the page of interest either into the same report or into any other report.
Editing Report Pages
Clicking on any page will allow you to edit its contents:
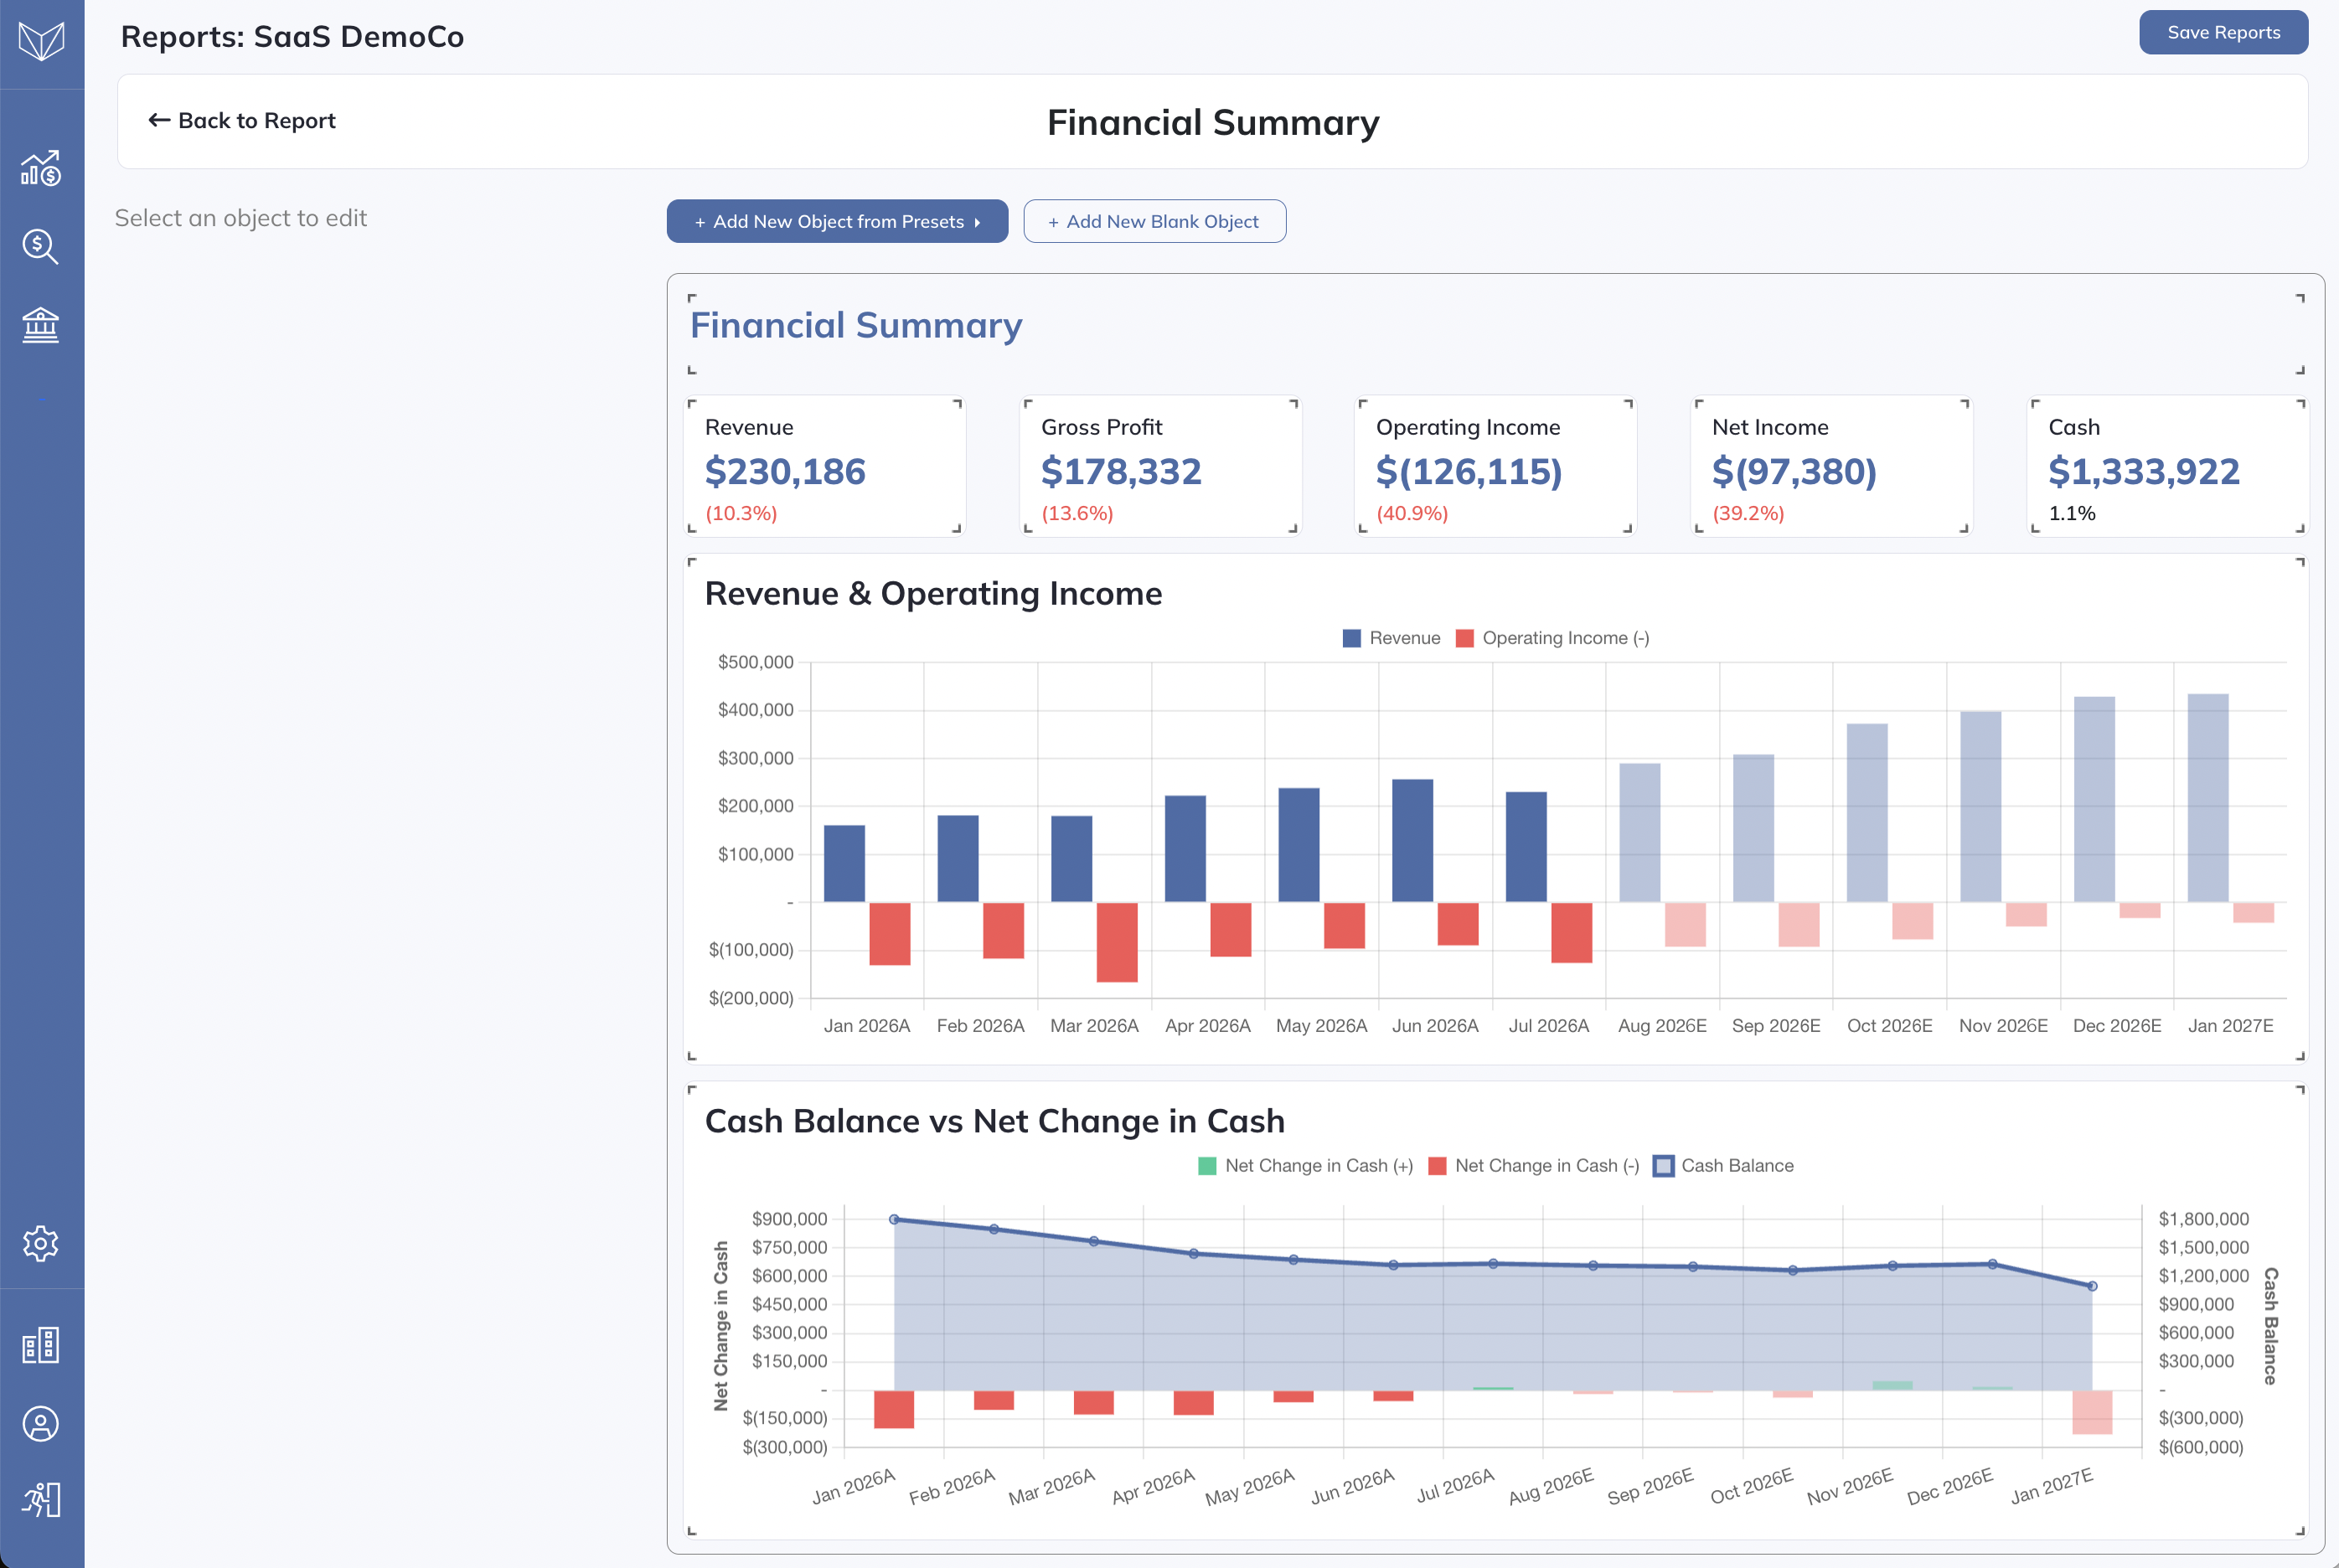
Editing objects on a page is done in the same manner as it is on the Dashboard page, with the exception being that space is limited to the size of the page. See the Dashboard: Report Objects Overview section of this guide for more detail on adding and editing objects.
Presentation Mode
Back on the edit report page, Presentation Mode allows you to present your report pages in a full screen view. This feature enables you to present or review the data included in your reports without needing to leave Modeloptic.
To access Presentation Mode, click on the projector screen icon on the top right corner of the page:

This will show a full screen view of the current report. You can navigate between pages using the arrows on the left and right sides of the page or with the arrow keys on your keyboard, allowing for easy access to all parts of the report without leaving Presentation Mode. You can also see which page is being displayed on the bottom of the screen. To close out of Presentation Mode, click the "X" on the top right corner of the screen and you will arrive back on the edit report page.
PDF Export
One of the more powerful capabilities included in Modeloptic's Reports page is the ability to export your report to PDF. This enables you to easily share data and insights with both internal and external parties. To create a PDF of the current report, simply click the PDF button in the top right corner of the screen (found next to the Presentation Mode button):

When generated, the PDF will download to your machine and will display your report pages exactly as configured in Modeloptic.